Machine embroidery is much more enjoyable when everything has its place.
Whether you’re creating gifts, running a small embroidery business, or simply stitching as a hobby, staying organized saves time, reduces mistakes, and helps every project run more smoothly.
If you’ve ever spent 20 minutes searching for the right thread color, misplaced a design file, or forgotten which stabilizer you used, you’re not alone.
These practical machine embroidery organization tips will help you build a simple system that keeps your workspace tidy and your projects on track.
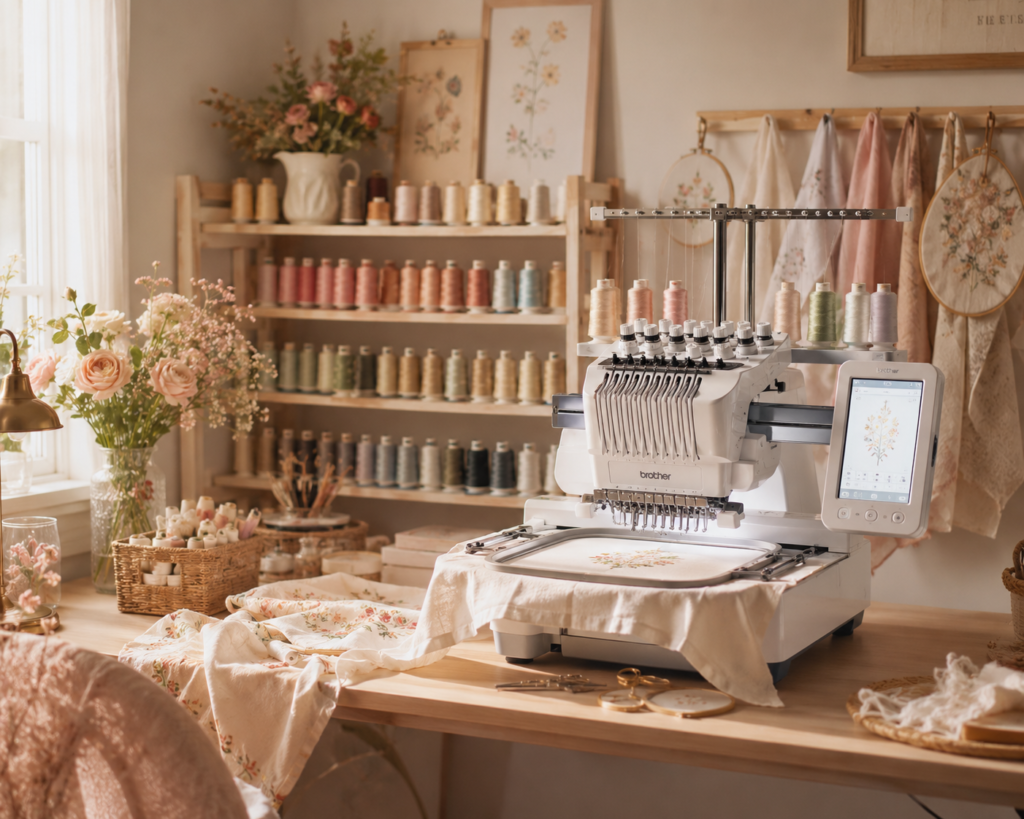
Why Organization Matters in Machine Embroidery
A well-organized embroidery space helps you:
- Finish projects faster
- Reduce embroidery mistakes
- Prevent lost supplies
- Keep embroidery files easy to find
- Avoid buying duplicate materials
- Improve overall embroidery quality
The less time you spend searching for supplies, the more time you spend creating.
1. Organize Embroidery Design Files
Digital embroidery designs can quickly become overwhelming.
Instead of saving files randomly, create a folder system.
Example:
Embroidery Designs
│
├── Animals
├── Baby Designs
├── Floral Designs
├── Monograms
├── Holidays
├── Christmas
├── Halloween
├── Gifts
├── In-the-Hoop Projects
└── Favorites
Even better, organize by:
- Theme
- Occasion
- File format
- Size
- Hoop size
Finding designs becomes almost instant.
2. Label Everything
Labels make a huge difference.
Consider labeling:
- Thread drawers
- Stabilizer rolls
- Hoops
- Needle containers
- Bobbins
- Fabric bins
Simple labels prevent confusion during busy projects.
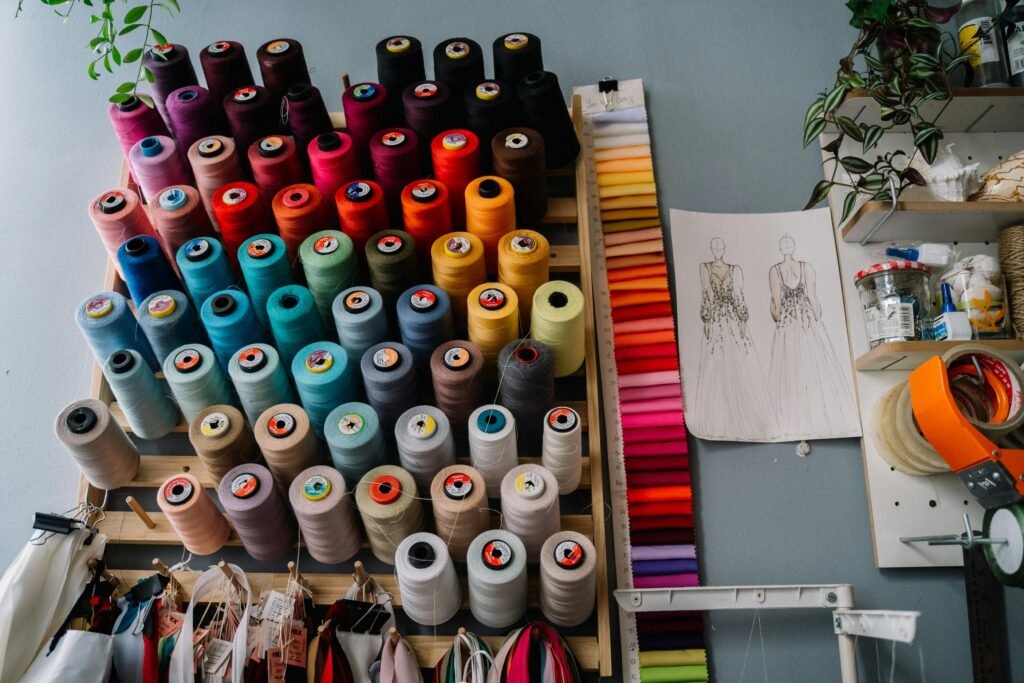
3. Store Thread by Color Family
Embroidery thread is one of the biggest sources of clutter.
Try organizing by:
- Reds
- Blues
- Greens
- Neutrals
- Pastels
- Metallics
Or organize by thread brand if you use multiple manufacturers.
This makes color selection much faster.
4. Keep Stabilizers Together
Many embroiderers own several stabilizer types.
Separate them into categories:
- Cut-away
- Tear-away
- Wash-away
- Heat-away
- Sticky stabilizer
Label each roll so you never grab the wrong one.
5. Create a Project Box for Every Embroidery Project
This is one of the best organization hacks.
Each project box can include:
- Fabric
- Stabilizer
- Thread colors
- Needle
- Printed instructions
- Design file name
- Finished sample (if needed)
When you’re ready to stitch, everything is already prepared.
6. Organize Needles by Type and Size
Don’t throw needles into one container.
Separate:
- 75/11 embroidery
- 80/12
- 90/14
- Ballpoint
- Sharp
- Metallic
Clearly mark used and new needles.
7. Keep a Thread Color Record
Many experienced embroiderers keep a notebook or spreadsheet listing:
- Thread brand
- Color number
- Color name
- Project used
This helps recreate projects later.
8. Save Machine Settings for Successful Projects
Whenever a project turns out perfectly, write down:
- Needle used
- Stabilizer
- Thread brand
- Speed
- Tension
- Fabric
You’ll have a ready-made recipe for future projects.
9. Organize Hoops by Size
If you own multiple embroidery hoops, dedicate a storage area for each size.
For example:
- 4×4 hoop
- 5×7 hoop
- 6×10 hoop
- 8×12 hoop
This prevents unnecessary searching before every project.
10. Keep a Maintenance Station
Store all machine care items together.
Include:
- Small brush
- Tweezers
- Screwdriver
- Cleaning cloth
- Machine oil (if recommended)
- Extra needles
- Spare bobbins
Routine maintenance becomes much easier.
11. Plan Projects Before You Start
Instead of jumping between unfinished ideas, create a project list.
Example:
✔ Choose design
✔ Select fabric
✔ Match thread colors
✔ Prepare stabilizer
✔ Hoop fabric
✔ Test stitch
✔ Final embroidery
Planning reduces mistakes and unfinished projects.
12. Create a Finished Project Gallery
Take photos of completed embroidery projects.
Organize them into folders like:
- Gifts
- Customer Orders
- Baby Projects
- Home Decor
- Seasonal Designs
This creates a valuable reference library and makes it easier to share your work on social media or Pinterest.
Common Organization Mistakes
Avoid these habits:
- Mixing used and new needles
- Keeping thread without labels
- Saving embroidery files with random names
- Leaving unfinished projects scattered
- Storing stabilizers without identifying them
- Ignoring regular workspace cleanup
Small improvements make a big difference over time.
Quick Organization Checklist
Before starting a project, make sure you have:
✔ Correct design file
✔ Proper hoop
✔ Right stabilizer
✔ Fresh embroidery needle
✔ Matching embroidery thread
✔ Clean embroidery machine
✔ Fabric prepared
✔ Bobbin wound
Pro Tips for an Efficient Embroidery Workspace
- Keep your most-used tools within arm’s reach.
- Store fabrics flat or rolled to prevent wrinkles.
- Use clear storage bins so you can see supplies at a glance.
- Dedicate one drawer to works in progress.
- Schedule a quick 10-minute cleanup after every embroidery session.
A little organization every time you stitch prevents major clutter later.
Final Thought
Great embroidery isn’t just about beautiful stitches—it’s also about having a workflow that supports creativity instead of slowing it down.
When your designs, threads, stabilizers, hoops, and tools are organized, every project becomes more enjoyable, more efficient, and far less stressful. A few simple systems today can save hours of frustration in the future, giving you more time to do what you love most: creating beautiful machine embroidery.