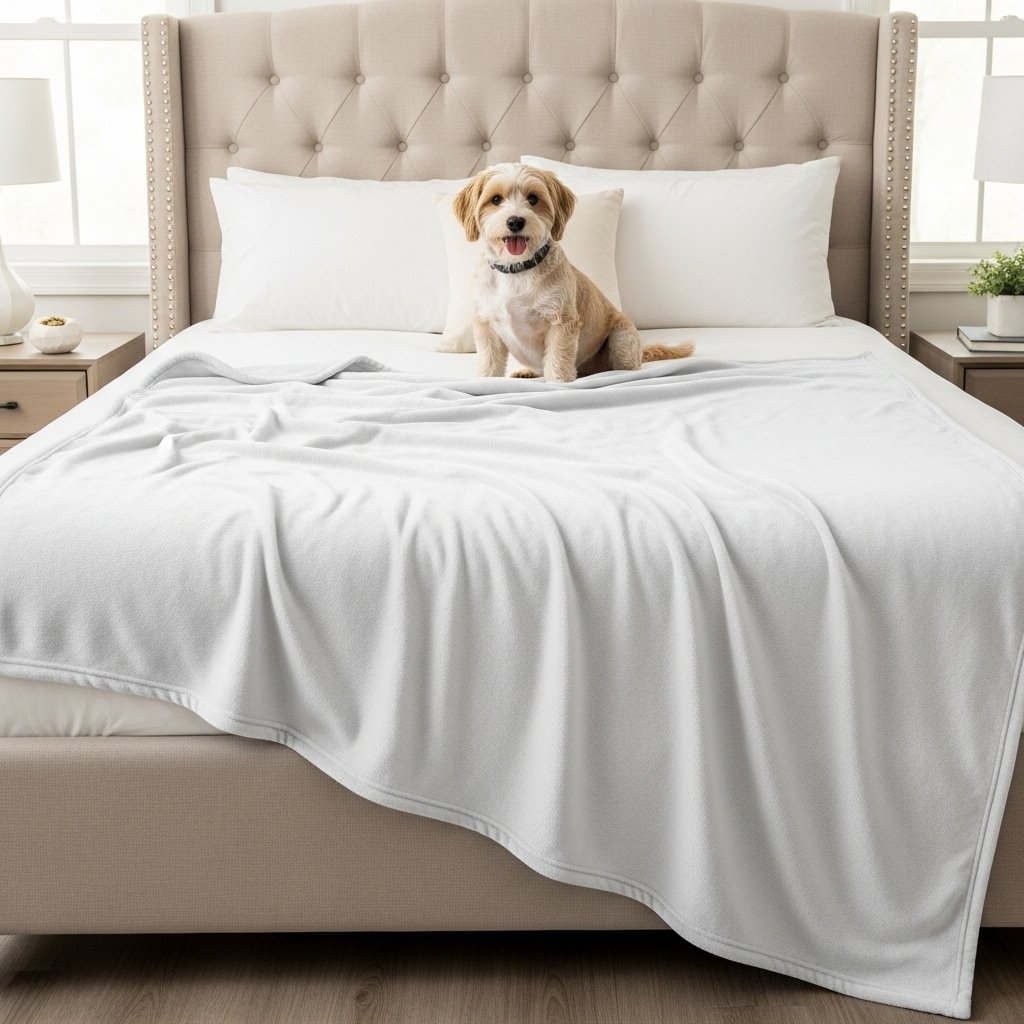
Embroidering a blanket with a machine is one of the most satisfying embroidery projects—you take something soft and simple, and turn it into a personalized, meaningful piece.
But blankets are also tricky. They are thick, textured, and often stretch or shift during stitching. Without the right setup, you may end up with puckering, misalignment, or designs that sink into the fabric.
This guide will show you how to embroider a blanket (machine embroidery) step-by-step, including professional tips, stabilizer choices, and troubleshooting hacks for flawless results.
What Makes Blanket Embroidery Different?
Unlike flat fabrics, blankets are often:
- Thick or plush (fleece, sherpa, minky)
- Stretchy or unstable
- Hard to hoop evenly
- Prone to stitch sinking
👉 This means standard embroidery settings usually don’t work without adjustments.
Best Types of Blankets for Machine Embroidery
Not all blankets behave the same in embroidery.
Beginner-friendly:
- Cotton woven blankets
- Lightweight fleece blankets
- Baby blankets (cotton or flannel)
More advanced:
- Sherpa blankets
- Minky blankets
- Thick knit throws
👉 Start simple before moving to plush materials.
Step 1: Choose the Right Stabilizer
Stabilizer is the foundation of blanket embroidery.
Recommended options:
Cut-away stabilizer
- Best for stretchy or soft blankets
- Provides long-term support
Water-soluble topping (important!)
- Keeps stitches from sinking into plush fabric
- Essential for fleece, sherpa, or minky
👉 Without topping, your design may disappear into the fabric texture.
Step 2: Prepare the Blanket Properly
Before hooping:
✔ Smooth out wrinkles
✔ Mark center placement
✔ Lay blanket flat on a clean surface
If needed:
- Lightly press (low heat)
- Avoid stretching the fabric
Step 3: Hooping or Floating Method
Blankets are often too thick to hoop traditionally.
Option 1: Traditional hooping
Best for:
- Thin blankets
- Cotton fabric throws
Option 2: Floating method (recommended)
Best for:
- Thick blankets
- Plush or textured materials
How it works:
- Hoop stabilizer only
- Place blanket on top
- Secure with temporary adhesive spray or pins/clips
👉 Floating gives better control for heavy materials.
Step 4: Secure Fabric Without Stretching
Use one or more of the following:
- Temporary adhesive spray
- Hoop clips
- Painter’s tape (for edges)
🚫 Do NOT stretch the blanket—this causes distortion after stitching.
Step 5: Select the Right Embroidery Design
Blankets work best with:
- Simple monograms
- Large, bold text
- Clean, low-density designs
- Baby-themed motifs
Avoid:
- Highly detailed fills
- Extremely dense designs
- Tiny lettering (it gets lost in texture)
Step 6: Use the Correct Needle and Thread
Needle:
- 75/11 embroidery needle (most cases)
- 90/14 for thicker blankets
Thread:
- Polyester embroidery thread (best durability)
- Rayon thread for decorative shine
👉 A sharp, fresh needle is critical for thick fabrics.
Step 7: Adjust Machine Speed and Tension
Slow your machine down.
Why:
- Reduces fabric shifting
- Improves stitch accuracy
- Prevents thread breaks
Also:
- Check upper tension
- Test stitch before final embroidery
Step 8: Run a Test Stitch First
Always test on similar material.
Check:
- Stitch visibility
- Fabric behavior
- Stabilizer performance
This step prevents expensive mistakes on large blankets.
Step 9: Start Embroidering Carefully
During stitching:
✔ Monitor first 1–2 minutes closely
✔ Watch for fabric shifting
✔ Stop if thread behaves unusually
👉 Most problems appear at the beginning.
Step 10: Finishing the Blanket
After embroidery:
- Remove excess stabilizer (if tear-away used)
- Trim jump stitches
- Gently clean water-soluble topping (if used)
- Press lightly if needed
Do not over-iron plush fabrics.
Common Problems & Fixes
Problem: Design sinks into fabric
✔ Fix: Use water-soluble topping
Problem: Blanket shifts during stitching
✔ Fix: Stronger adhesive or floating method
Problem: Puckering around design
✔ Fix: Use cut-away stabilizer + reduce tension
Problem: Thread keeps breaking
✔ Fix: change needle + slow machine speed
Pro Tips for Perfect Blanket Embroidery
✔ Always use a stabilizer + topping combo for plush fabrics
✔ Keep designs bold and simple
✔ Use floating method for thick blankets
✔ Secure edges well before stitching
✔ Keep stitch density moderate
Final Thought
Embroidering a blanket is all about control—control over fabric, stabilizer, and design choice.
Once you understand how to handle thick and soft materials, blankets become one of the most rewarding embroidery projects you can do.
And honestly, nothing beats seeing a plain blanket turn into something personal, warm, and unforgettable.
