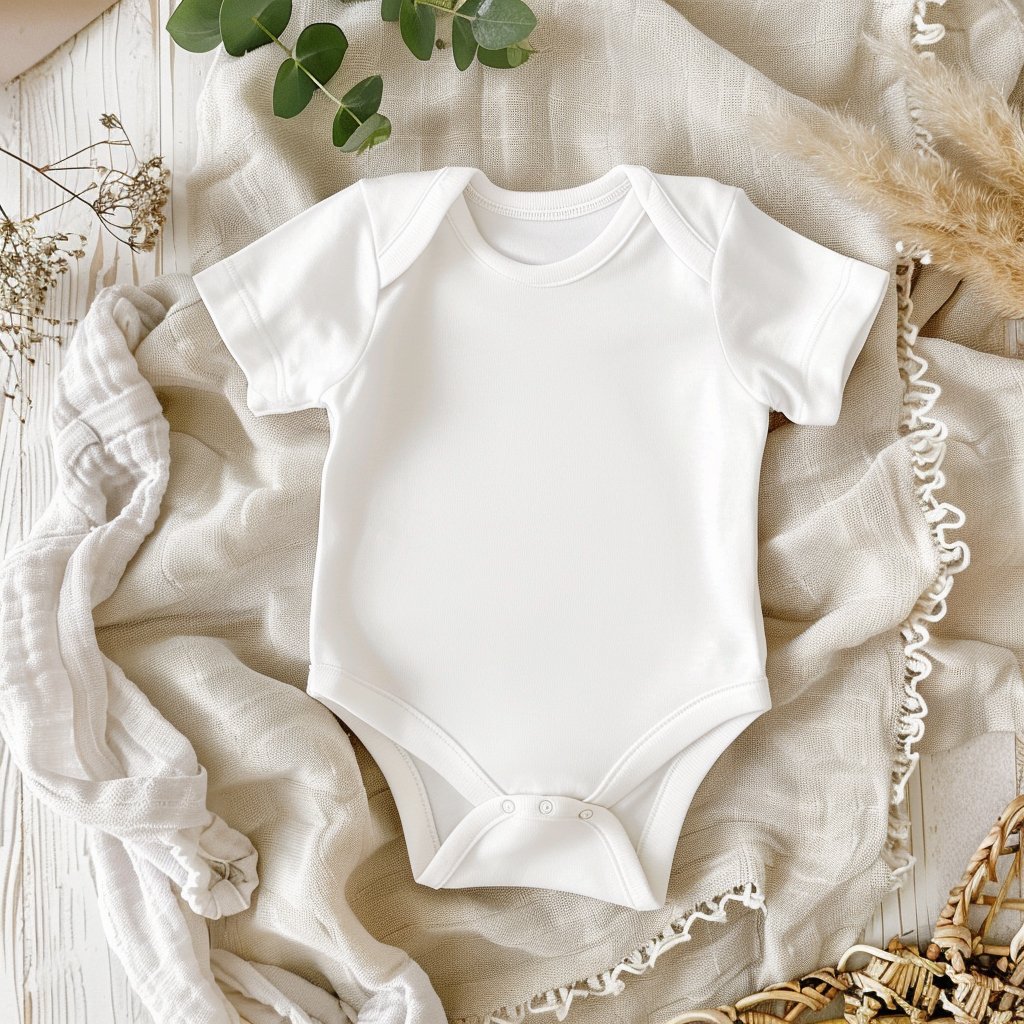
Embroidering a onesie is one of the most popular machine embroidery projects—especially for baby gifts, personalized clothing, and small business products.
But onesies are also tricky: they are small, stretchy, and easy to distort if you hoop them incorrectly.
This guide will show you how to hoop and embroider a onesie (machine embroidery) step-by-step so you can achieve clean, professional results every time.
Why Embroidering a Onesie Is Tricky
Onesies are challenging because they are:
- Made of stretchy knit fabric
- Small and difficult to position in a hoop
- Prone to puckering
- Easy to stretch during hooping
👉 The key is NOT force—it’s control and stabilization.
Best Design Types for Onesie Embroidery
Start simple.
Perfect beginner designs:
- Baby names
- Monograms
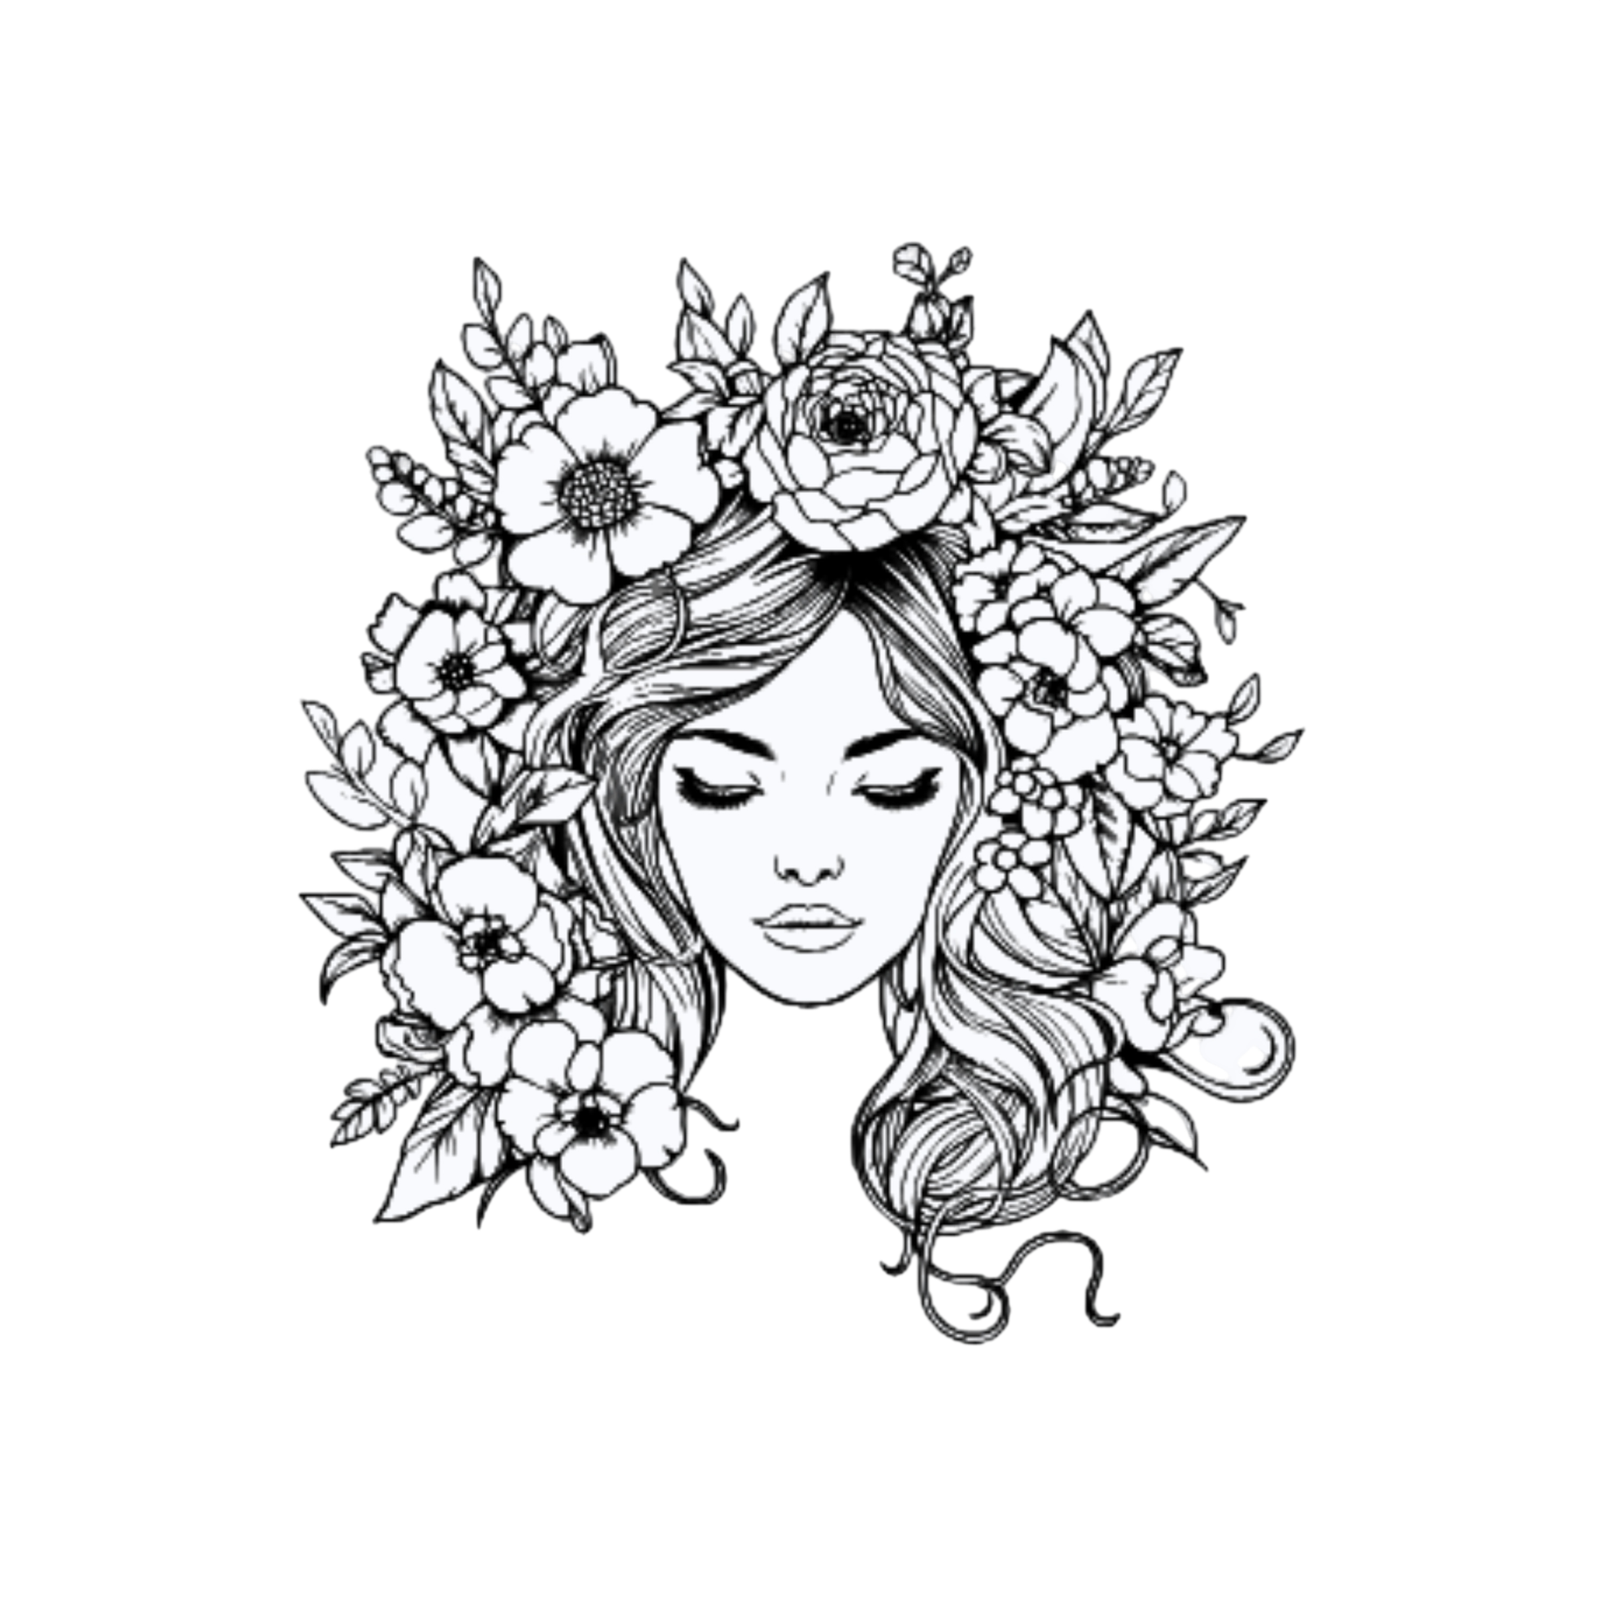
- Small icons (stars, hearts, animals)
- Minimal text
Avoid:
- Large designs
- High-density fills
- Complex, detailed artwork
👉 Less is more when working with baby clothing.
Step 1: Choose the Right Stabilizer
Stabilizer is essential for onesie embroidery.
Recommended:
Cut-away stabilizer
- Best for stretchy knit fabric
- Prevents long-term distortion
- Keeps stitches stable after washing
Optional:
- Fusible cut-away (adds extra grip)
Step 2: Decide Between Hooping vs Floating
For onesies, you have two main methods:
Option 1: Traditional hooping
- Fabric is placed directly in the hoop
- Works for thicker, stable onesies
Option 2: Floating method (recommended)
- Hoop stabilizer only
- Place onesie on top
- Secure with adhesive spray or clips
👉 Floating is often safer for delicate baby clothing.
Step 3: Prepare the Onesie
Before stitching:
✔ Lay onesie flat
✔ Smooth out wrinkles
✔ Mark center point for design placement
✔ Open snaps/buttons if needed
👉 Accuracy at this stage = perfect placement later.
Step 4: Apply Stabilizer
Place stabilizer behind the embroidery area.
Tips:
- Use cut-away for best support
- Make sure it extends beyond design area
- Keep it smooth and wrinkle-free
Step 5: Hooping the Fabric (If Not Floating)
If you choose traditional hooping:
✔ Do NOT overstretch fabric
✔ Keep fabric flat, not tight like a drum
✔ Ensure stabilizer moves with fabric
🚫 Over-tight hooping causes puckering after removal.
Step 6: Secure Fabric for Stitching
If floating:
Use:
- Temporary adhesive spray
- Hoop clips
- Light tape for edges
👉 Fabric must NOT shift during embroidery.
Step 7: Choose Correct Needle and Thread
Needle:
- 75/11 embroidery needle (standard)
- Ballpoint needle for extra stretch fabrics
Thread:
- Polyester embroidery thread (best durability)
- Rayon thread for decorative shine
Step 8: Set Up Machine Settings
Adjust for better results:
- Reduce machine speed
- Check thread tension
- Ensure correct design placement
👉 Slower speed = more control on small garments.
Step 9: Run a Test Stitch
Always test before stitching the real onesie.
Check:
- Design alignment
- Stitch density
- Fabric reaction
This prevents costly mistakes on baby clothing.
Step 10: Start Embroidering Carefully
During stitching:
✔ Watch first 2–3 minutes closely
✔ Ensure fabric is not shifting
✔ Stop immediately if thread breaks occur
Step 11: Finishing the Onesie
After embroidery:
- Remove excess stabilizer
- Trim jump threads
- Gently press from the back side
- Check inside for comfort
👉 Always make sure no scratchy thread remains inside.
Common Mistakes When Embroidering a Onesie
1. Overstretching fabric in hoop
✔ Fix: use floating method or looser hooping
2. Wrong stabilizer choice
✔ Fix: always use cut-away for knits
3. Design too large
✔ Fix: keep designs small and simple
4. Fabric shifting during stitching
✔ Fix: add adhesive spray or clips
Pro Tips for Perfect Onesie Embroidery
✔ Use the smallest hoop possible
✔ Always mark center before hooping
✔ Keep designs lightweight and clean
✔ Stabilizer is more important than thread
✔ Test everything first
Final Thought
Embroidering a onesie is all about gentle handling and smart stabilization.
Once you learn how to control stretch fabrics and use the right method (especially floating), baby clothing embroidery becomes one of the most rewarding and profitable machine embroidery projects.
And yes—tiny clothes somehow make even small stitches look extra impressive.